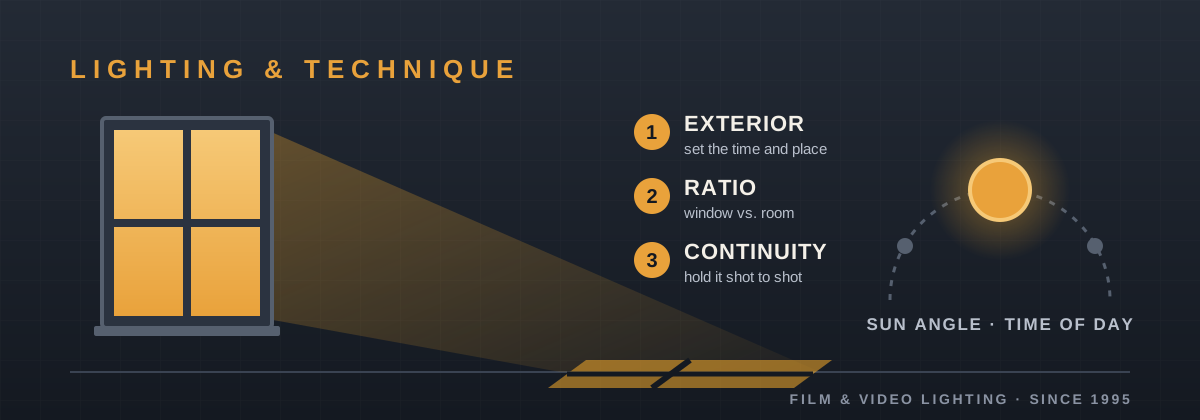
Short answer: Decide what is happening outside before you light anything inside. Hard, steep window light reads as midday sun; long, warm, raking beams read as morning or late afternoon; soft, cool, shadowless light reads as overcast, dawn or dusk. Keep the window about 1–2 stops brighter than the interior key, hold that level from shot to shot, and add practicals only after the window is set.
The window sets the clock for an interior scene. Before an audience notices a lamp or a candle, the light coming through the glass has already told them the hour, the weather and roughly where in the world they are. That makes it the most common motivated source in film, and the one most worth getting right.
Roger Deakins builds many interiors around it: one strong, believable source from outside, with everything inside the room answering to it. For AI filmmakers the same rule holds, with one twist. A generated interior has no real sky behind the glass, so the exterior has to be decided on purpose and described before anything else. Left vague, the model fills it in, and it rarely fills it in the same way twice.
Three qualities of window light carry the time and the weather: how hard its edges are, which way and how steeply it falls, and its color.
| Time & weather | What the window does | Color* | Prompt cues |
|---|---|---|---|
| Clear midday | Hard-edged patch of sun close to the window; short, steep shadows | ~5600K, neutral daylight | hard midday sun through window, crisp shadow of window frame on floor |
| Clear morning or late afternoon | Long, raking beam reaching deep into the room; window shapes stretched across walls | Warmer as the sun drops | low sun raking through window, long warm shafts across the room |
| Overcast | Soft, even, shadowless light; window is the brightest thing in frame but flat | ~6500K, cool-neutral | soft overcast daylight from window, no hard shadows |
| Dawn or dusk, no direct sun | Dim, soft, blue light from the sky alone; interior practicals start to read | Open skylight, 10,000K+ | blue hour light through window, warm lamps glowing inside |
| Night | Window falls darker than the room, or carries blue moonlight or orange street light | Practicals ~2700–3000K take over | dark window, room lit by warm table lamps |
*Approximate values. Real daylight shifts with weather, haze and the hour, so meter or white-balance on location.
The color gap between outside and inside is what makes a room feel like an interior. Film-standard daylight is about 5600K, studio tungsten 3200K, and household bulbs and practical lamps 2700–3000K. That puts daylight and a typical table lamp roughly 2,600–2,900K apart, wider than the 1,500–2,000K figure often quoted. Balance for the window and the lamps glow orange; balance for the lamps and the window turns blue.
Deakins treats the window as something to design, not just accept. In The Goldfinch, winter daylight in New York was too short and changeable, so he blocked the real sun with a large diffusion frame hung from a crane, rebuilt the daylight with lamps bounced off it, and added a hard sunbeam on an electronic shutter so the sun could break through on cue. Asked how to show morning, afternoon and evening through one bedroom window, he answered that there is no single plan: it depends on the script, whether it is raining or sunny, and whether the blinds are drawn.
For ReelMind users, the first lighting decision in any interior is what is happening outside. Location and time of day set the sun's height, color and hardness, and the window inherits all of it. A winter afternoon in Oslo keeps the sun low and raking all day. Midsummer noon in Marrakesh puts it nearly overhead, so the window throws a short, harsh patch and the room relies on bounce.
Set this at the scene level in Nolan AI Director, ReelMind's AI agent director, so every shot in the sequence inherits the same world. A useful exterior brief covers five things:
With that brief in place, render the interior shots with Runway Gen-3 Alpha Turbo. Turbo generates from an image prompt, so build a reference still of the room with the window light already right, then animate from it. The model starts from a frame where the sun angle and color are fixed, instead of guessing them from text.
The contrast between the window and the interior fill decides whether the room feels real. Push it too high and the window clips into a white hole with a murky room around it. Pull it too low and the interior looks lit by a studio, with the view outside reading like a painted backdrop.
Deakins made the second point himself about a café still: it looks unreal because the light on the actors is far brighter than the sky behind them. On a real set, crews close the gap by adding light inside, putting ND gel on the glass, or waiting for duller weather. Window ND typically comes as 0.3, 0.6 and 0.9, cutting one, two and three stops.
| Window vs. interior key | How it reads | Prompt language |
|---|---|---|
| Interior as bright as the window, or brighter | Artificial; studio-lit, or night outside | avoid: evenly lit room, flat lighting |
| Window ~1–2 stops brighter | Natural daytime; view outside still holds detail | window slightly overexposed, view still visible, soft bounce fill on faces |
| Window 3+ stops brighter | High-key, hazy or dreamlike; view burns to white | bright white window glow, interior in soft shade |
| No interior fill at all | Silhouette; faces lost against the glass | use only when the silhouette is the point |
The 1–2 stop band is a starting point, not a rule. Pick the ratio for the mood of the scene, then hold it.
In a generated frame, check the reference still before animating: the pane should only clip completely if that is the look you chose.
As the camera moves relative to the window, the window's brightness and color must not move with it. In a real room the sun does not dim because the camera turned. In a generated clip it often does: the model re-guesses the exposure as the glass enters or leaves frame, and the room appears to breathe.
Alibaba's Wan 2.1 First-Last-Frame control is the most direct tool on ReelMind for this. The model takes a first frame, a last frame and a prompt, and generates the motion between them. It locks the two ends, not every frame in between, so the light has to be right in both keyframes before you generate.
The model was trained mainly on Chinese text–video pairs, so Chinese prompts tend to work best. If an English prompt is not holding the light, a translated prompt is worth a test.
Every digital interior should start by defining its window and door sources, visible or implied, before any lamp in the room is placed. Practicals are judged against the daylight. Set them first and you end up fighting them: a lamp that looked right on its own suddenly reads as too bright, or the wrong color, once the window arrives.
Direct daylight is about 5600K, overcast closer to 6500K, and open skylight at dawn or dusk can run 10,000K or higher. Household lamps sit around 2700–3000K, which is why they glow orange against a daylight-balanced window.
About 1–2 stops over the interior key is a natural daytime starting point: the window reads bright, but the view outside keeps its detail. Go higher for a hazy, high-key look; go lower and the room starts to look studio-lit.
Fix the light in one master still, derive the first and last frames of each move from it, and use first-last-frame generation so every clip starts and ends on the same window exposure. Then check the midpoint for drift.
The window. Practicals are judged against the daylight, so set the window and its bounce first, then bring the lamps in warmer and dimmer by day.
Tell us the room, the windows and the look you're after, and we'll help you pick the fixtures, window ND and diffusion to match it. We've been lighting film, broadcast and live events since 1995 — and a real expert answers the phone. Call 888-276-3667.
Shop LED Bulbs for Practicals »
Read: More Guides in the Learning Center »



© Barn Door Lighting Outfitters LLC.